Single User Performance Benchmarking
Single User Performance Benchmarking using Headless Chrome, Node, NPM, Puppeteer, Lighthouse, Shell scripting and Jenkins.
Part 1
Implementing automated single-user performance testing, also known as benchmarking, was a dream goal that was postponed due to unforeseen technical difficulties. Some obstacles were the scripting of the web scenarios and scheduled execution. If you have limited understanding of test automation or scripting languages, you cannot create a proper flow to mimic the user scenario. However, nowadays we are talking about low code / no code mechanisms to implement automation as end customers and with ISV partners also trying to add their own scenarios to the test suite.
Through this blog, we will describe the way we can do this in a practical way with the help of Google recorder, NPM, Puppeteer Reply, Lighthouse, Shell scripting, and Jenkins.
To make it more accessible, I have divided the content into 2 parts.
In Part 1, there are 5 main steps.
Step 1: Record the User Flow with Google Recorder tool.
1. Open the Dev Tools > Recorder

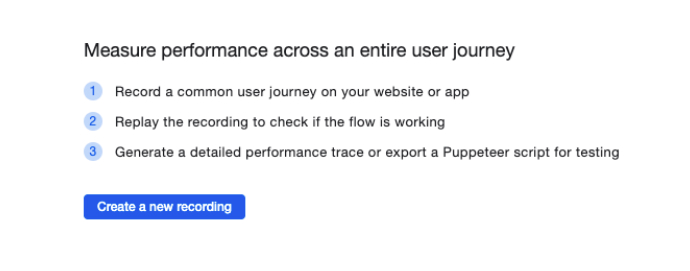
2. Create a new recoding.
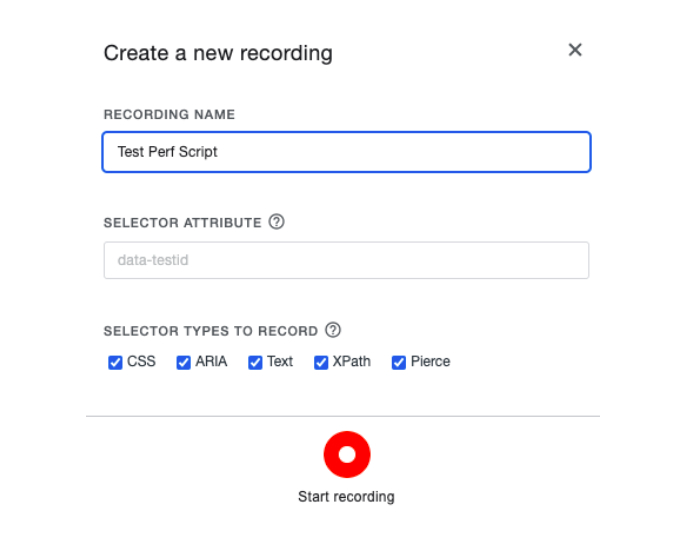
3. Create the scenario by Start recording (make sure to open your web site)
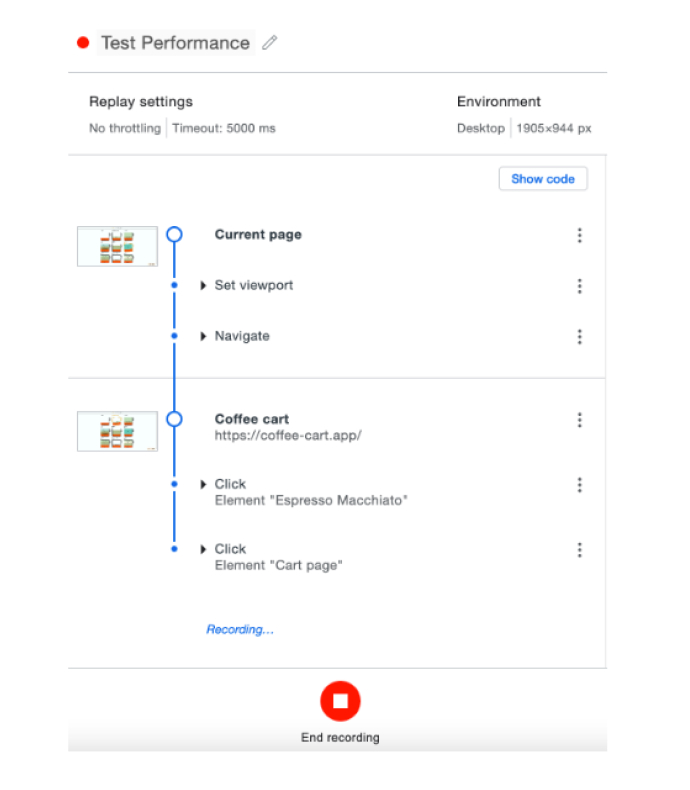
4. Go through the user flow and Stop.
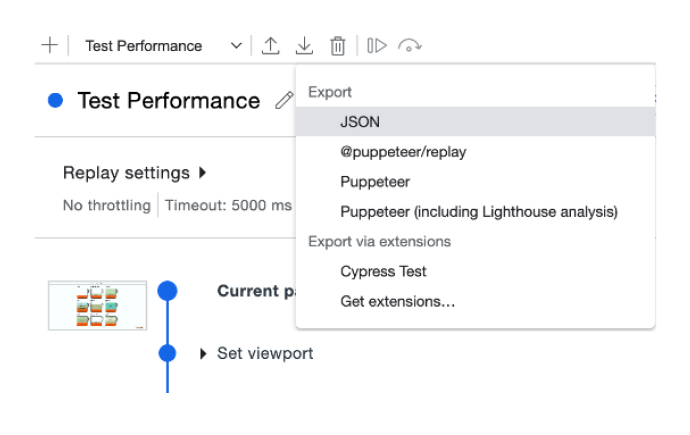
5. Now you have the script with the timeout value (here it is 5000ms). This will be the benchmark we have to use later. You need to reply and see the correctness of the script.
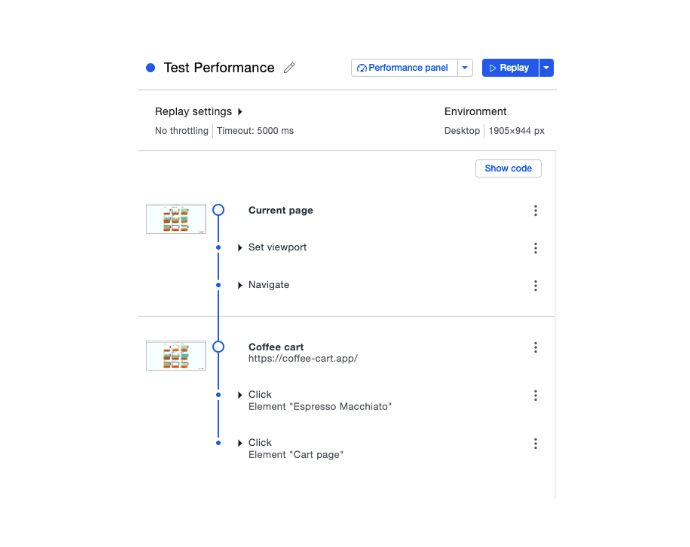
6. Then, Export it as a JSON file.
Step 2: Install Node.js and latest NPM.
1. Download Node and install
From here: https://nodejs.org/en/download you can download the installer according to your platform. Since I am using a mac, I did the following:

Or use Node version manager like nvm to install Node.js
- Now open the Terminal or CMD and type ‘node –v’ to check the version of the node.
- Then install NPM latest by running the ‘npm install -g npm’ command and then run ‘npm –v’ to see the npm version. NPM is the Node Package Manager.

Step 3: Install Puppeteer and Puppeteer Replay.
Puppeteer is a Node library that provides a high-level API to control headless Chrome or Chromium. Puppeteer Reply is also a library that provides an API to replay and stringify recordings created using Chrome DevTools Recorder. Open the terminal and do the following:

Step 4: Run .JSON script using headless and headful modes.
Now open the Terminal or CMD again and type the following and run

Then it will run in a headless mode and give us the results, as seen below. So, this is not controlled.

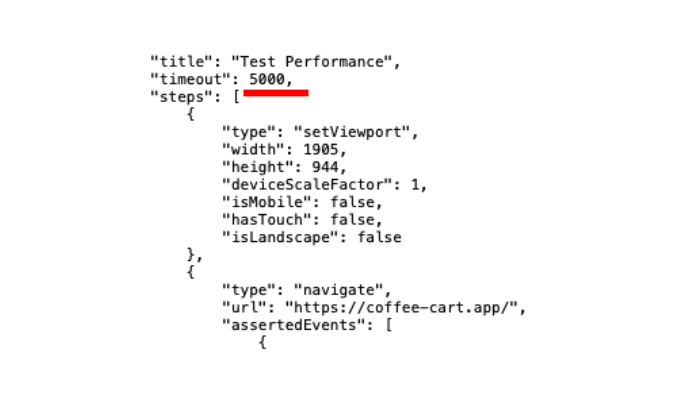
This means the scenario we recoded is successfully executed and each step is executed within 5000ms. Below you can see the failed execution after we changed it to 500ms.

We can do this by changing the timeout property in .JSON file.
2. Apply headless and headful command control.
Now let’s control the headless and headful by adding, ‘PUPPETEER_HEADLESS=true/false’ command.
Headless

Headful – Here the chromium browser is getting opened, execute the flow and close the browser automatically. Here we can see the execution.

Step 5: Creating a shell script to send an email and create the lighthouse front end report.
- Start the script with ‘#!/bin/bash.’
- Import data to a report.

Here all the outputs are saved in the CartPerfReport file.
- Cascade data to an email and send it.

Here, using the ‘cat’ command you are concatenating the file data to the email body. Then, set the subject and the email you need.
- Now run the lighthouse script to generate the front-end rules-related report which is vital for optimizing the front-end performance.

In this command, the coffee cart site is running headless and only the ‘Performance’ category will be executed in normal mode. Other than the performance category there are a few like ‘Accessibility’, ‘SEO’, etc.
So, the final shell script (CartPerfTest.sh) is as follows. This can be executed parodically or for a commit using Jenkins (or any other CI). How to schedule this in Jenkins CI will be discussed in Part 2.

Run .sh file in the terminal:


Anushka Shehan Wickramaratne
Head of Quality AssuranceDeveloping a Custom Audit Trail and a Notification Service for a Workflow Based Serverless Application on AWS
READ ARTICLE
Human Emotions Recognition through Facial Expressions and Sentiment Analysis for Emotionally Aware Deep Learning Models
READ ARTICLE
